♾ Infinite Zoom Video from Midjourney Images - Full Tutorial
We've all seen those cool videos on YouTube that are constantly zooming out but how do you make them? Using Midjourney and some video editing software that's how.

In this article, I am going to show you how to create an infinite zoom video using Midjourney images.
Creating the Initial Images
To create the initial images you need to write prompts in Midjourney.
I'm going to start by using the /imagine prompt to allow me to create some text prompts.
Before I start writing my prompts I want to establish a few things first.
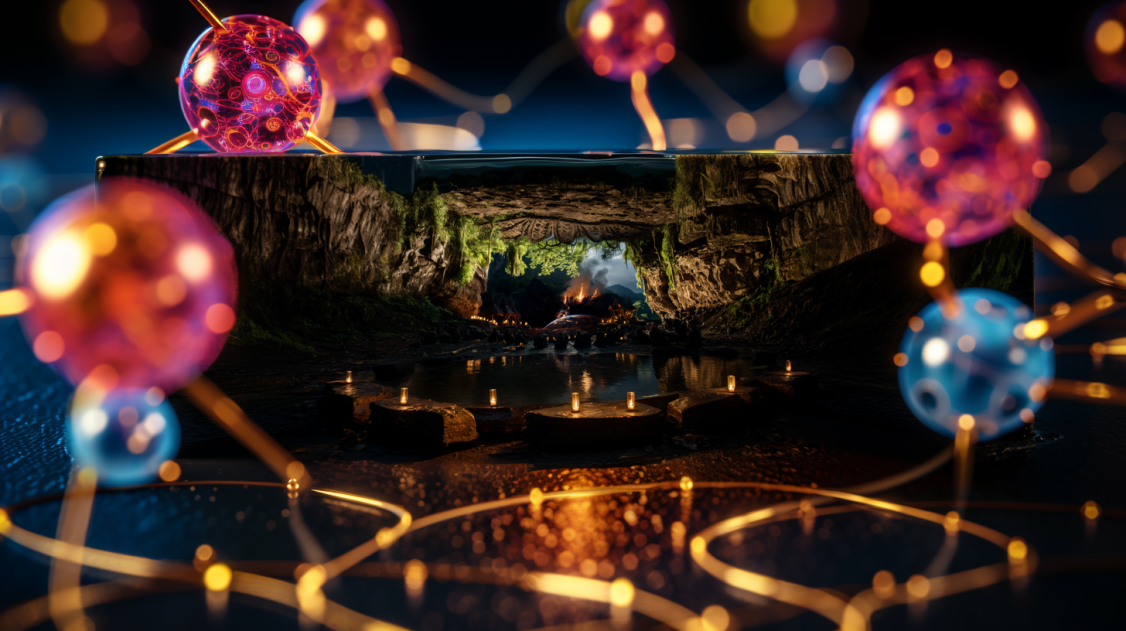
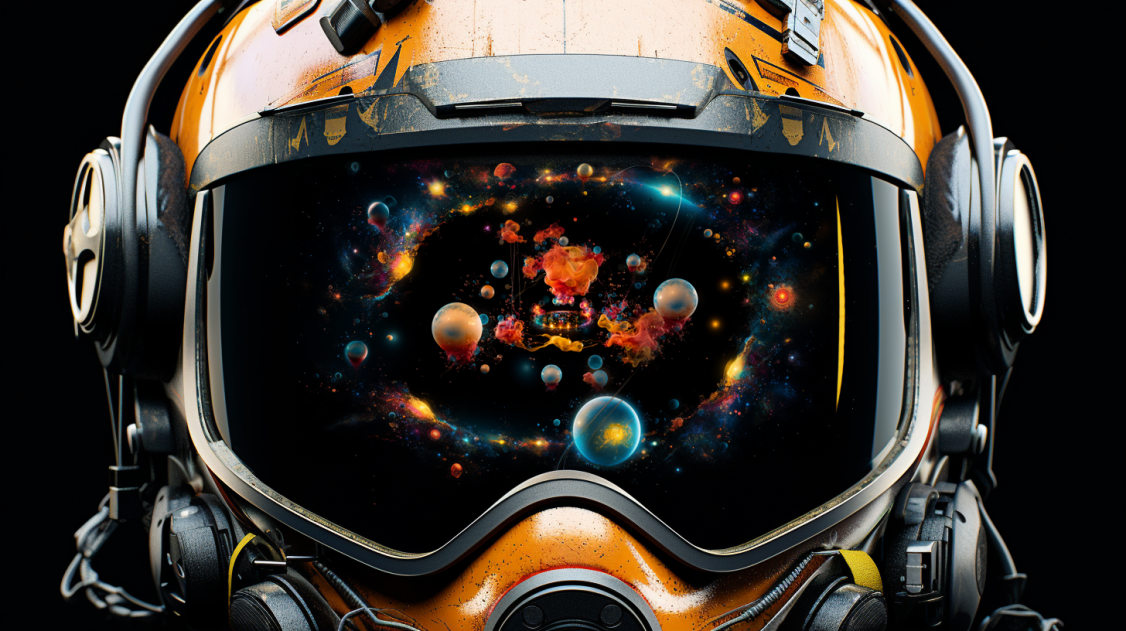
I want this infinite zoom video to feel like a sci-fi film and I want the aspect ratio to fit YouTube so it needs to be 16:9.
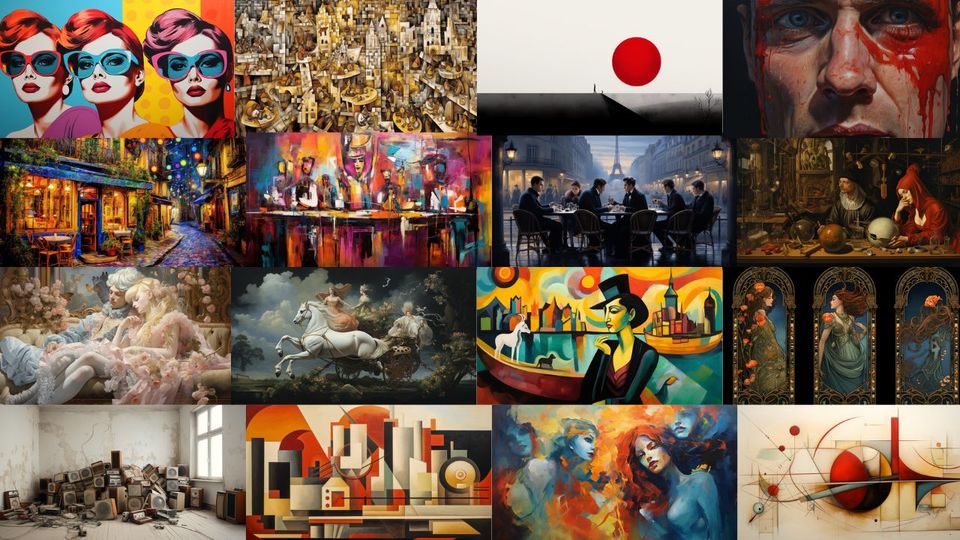
Also, for this round I want the 4 images to be quite different as well as stylized so I will need to adjust the --chaos parameter and the --stylize parameter.
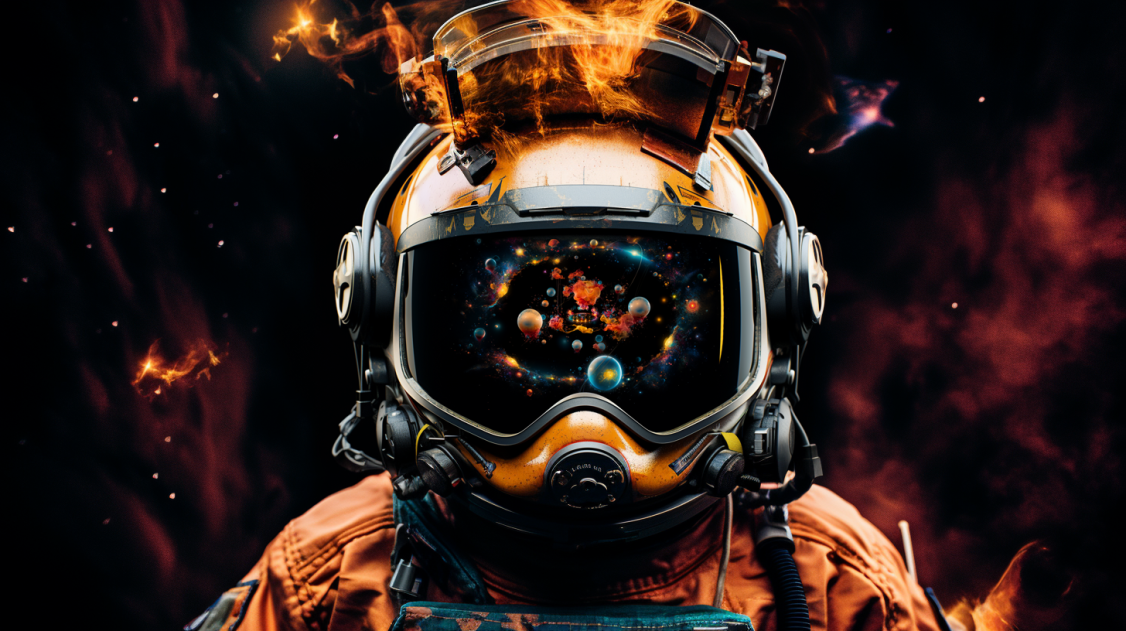
Once I have this starting image right I can start using the custom zoom function creatively to change the scene as it zooms out.

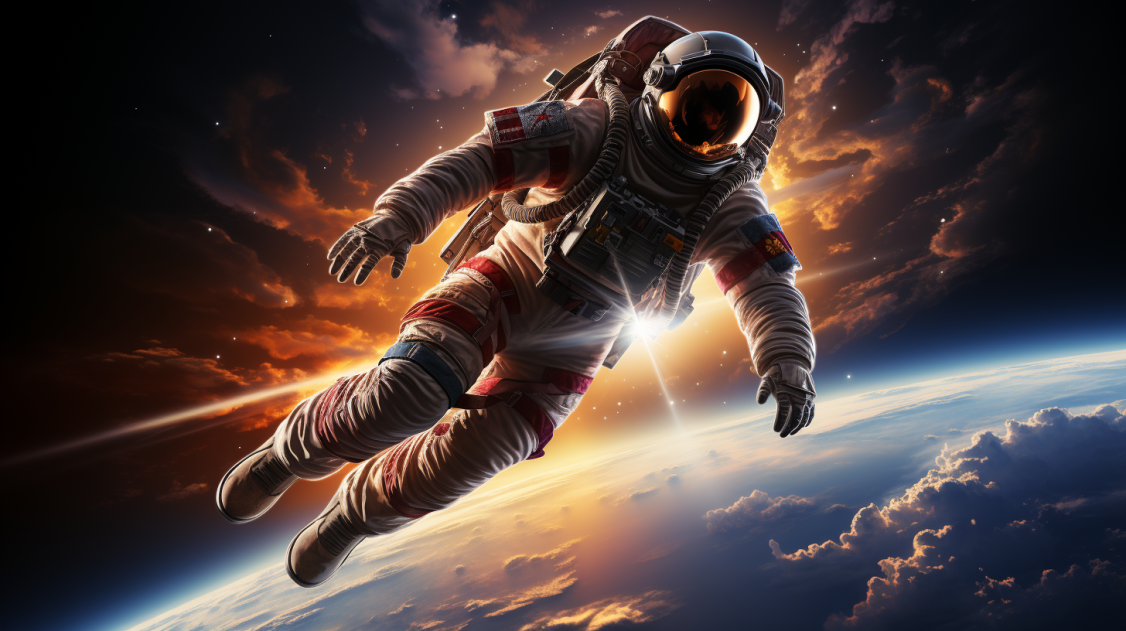
Once I have zoomed out enough on this image I will then change the prompt using custom zoom.
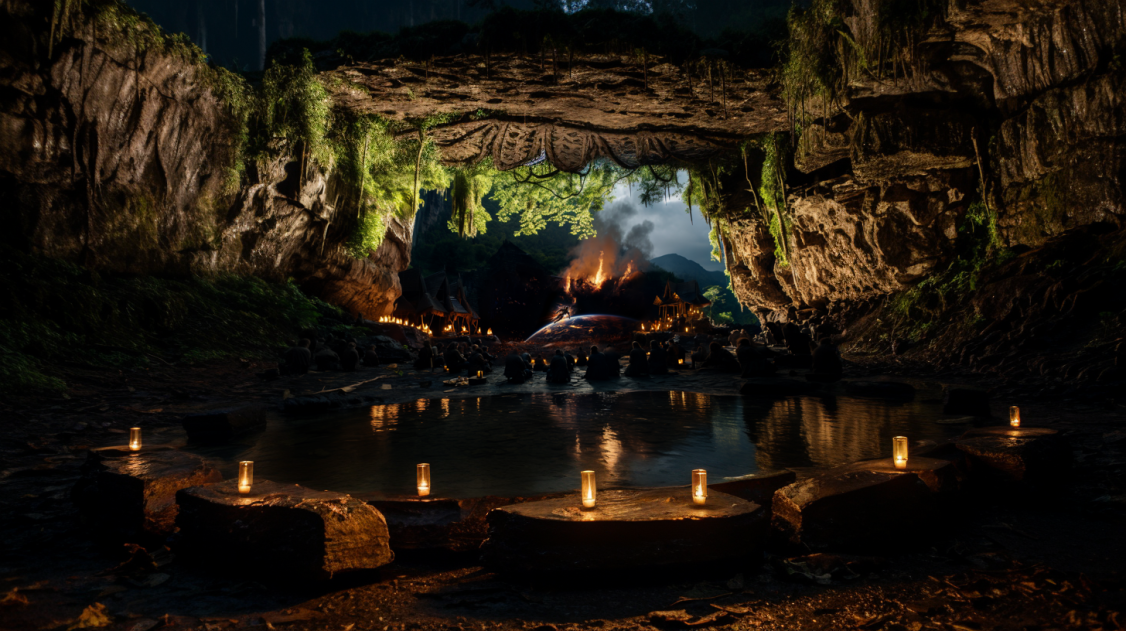
I want the scene to change so I am going to take this and make it a framed photo in another setting, maybe a dark cave or something.

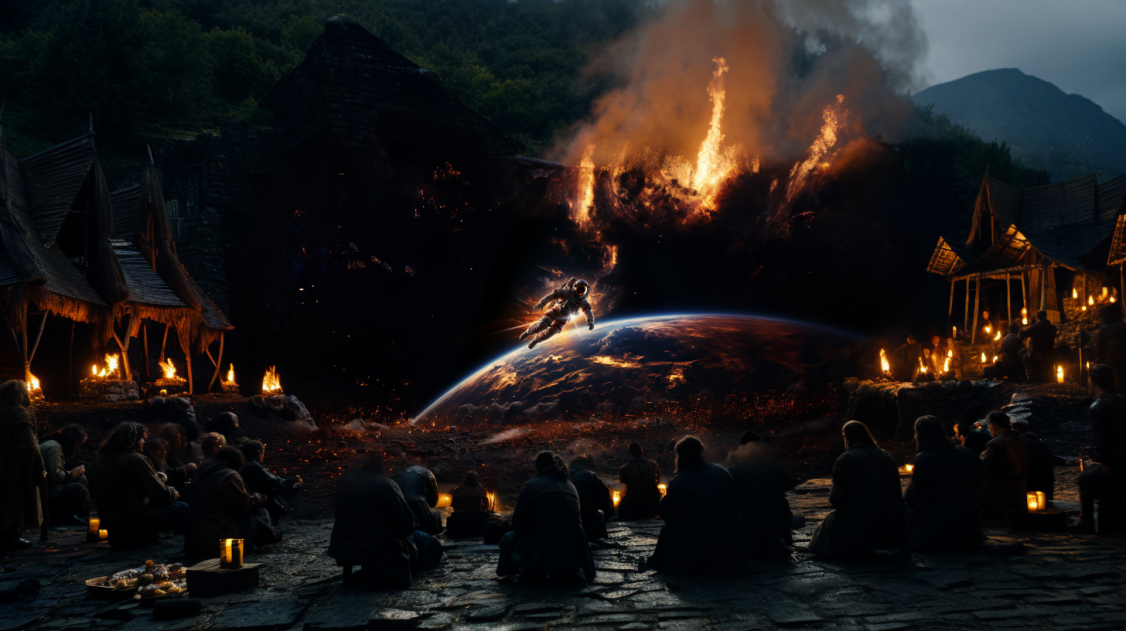
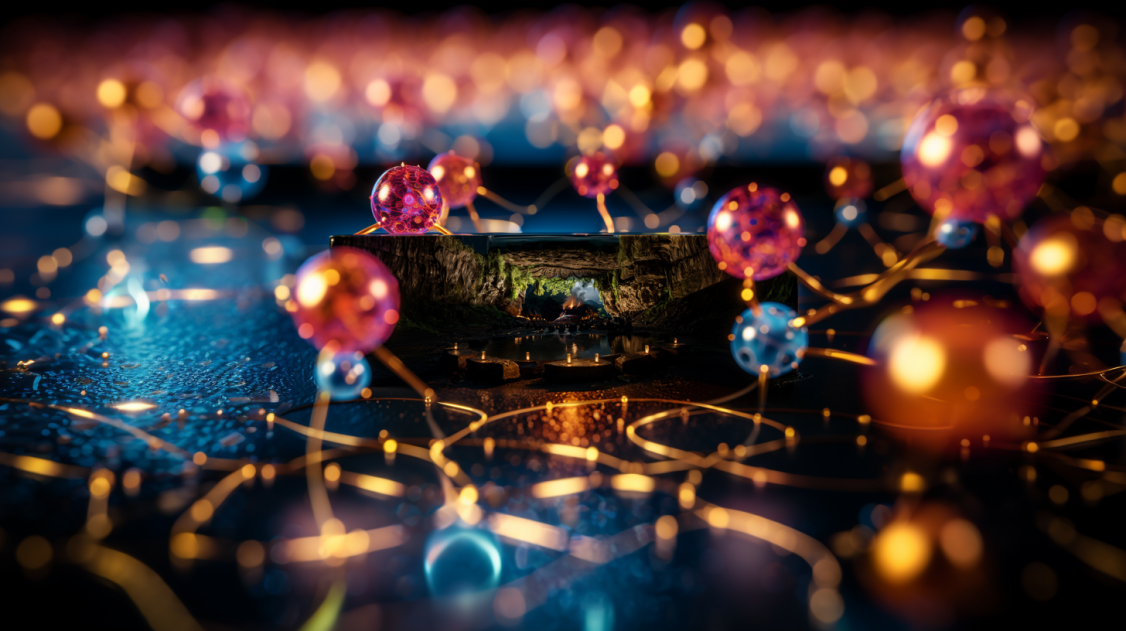
And again once I have zoomed out enough I want to change the image completely to something like "an extreme close-up of an atom".
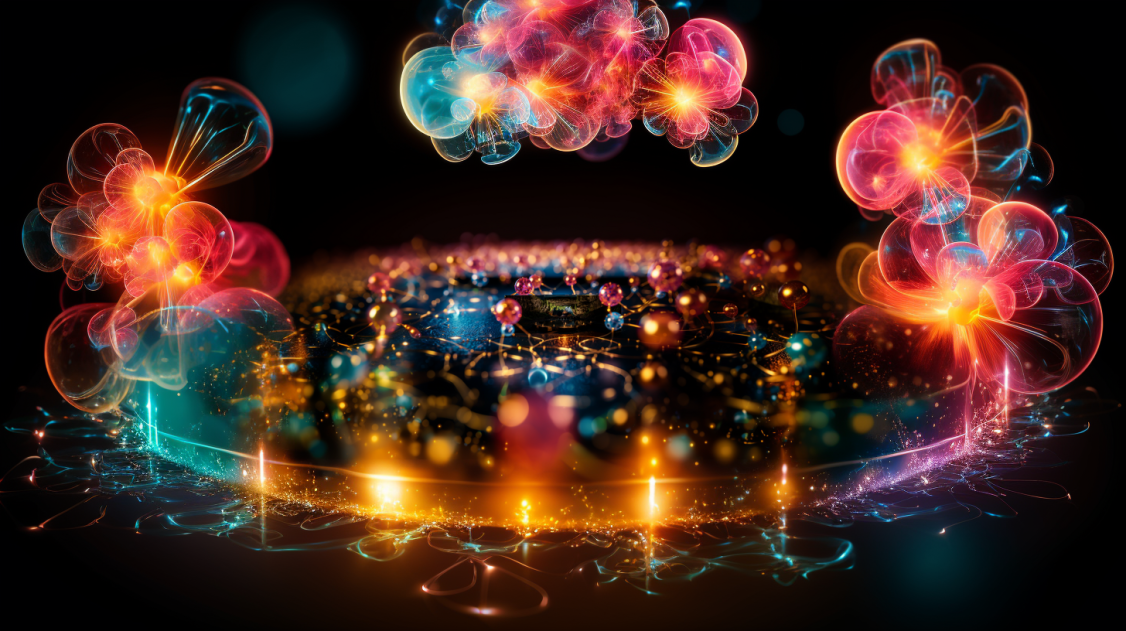
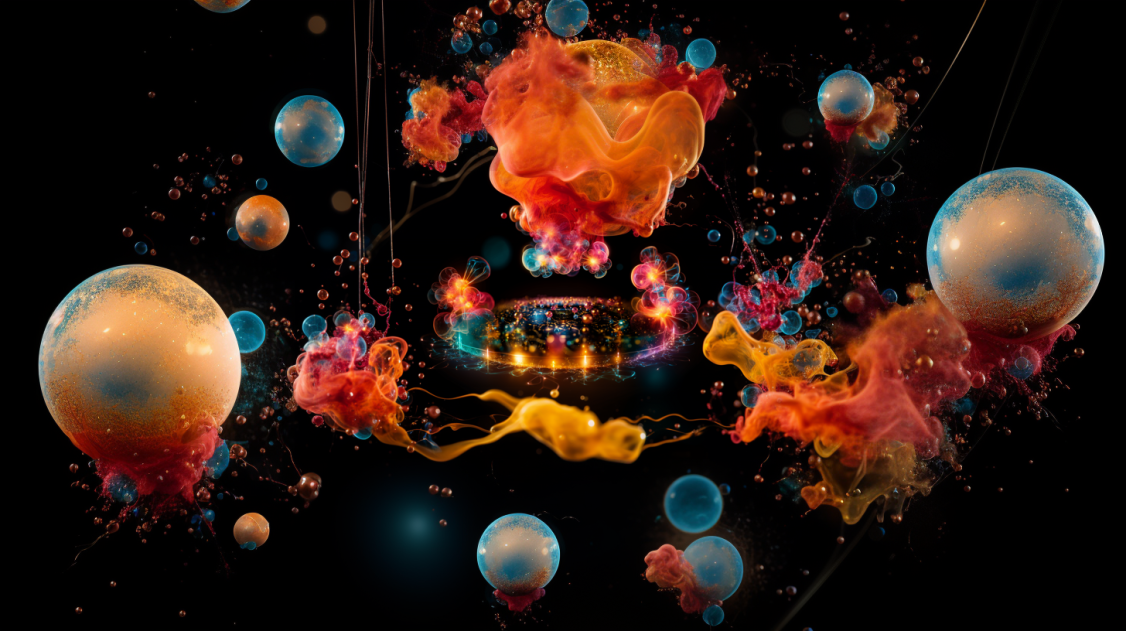
I'm going to continue zooming out and then changing the prompt using custom zoom until I have at least 4 different scenes.

Now I have my selection of zoomed-out images I need to import them into some video editing software to start the animation process.
Creating the Infinite Zoom Video
This is the part where it all comes together nicely. There are a few things to take care of before we can begin animating.
Downloading The Hi-Res Images
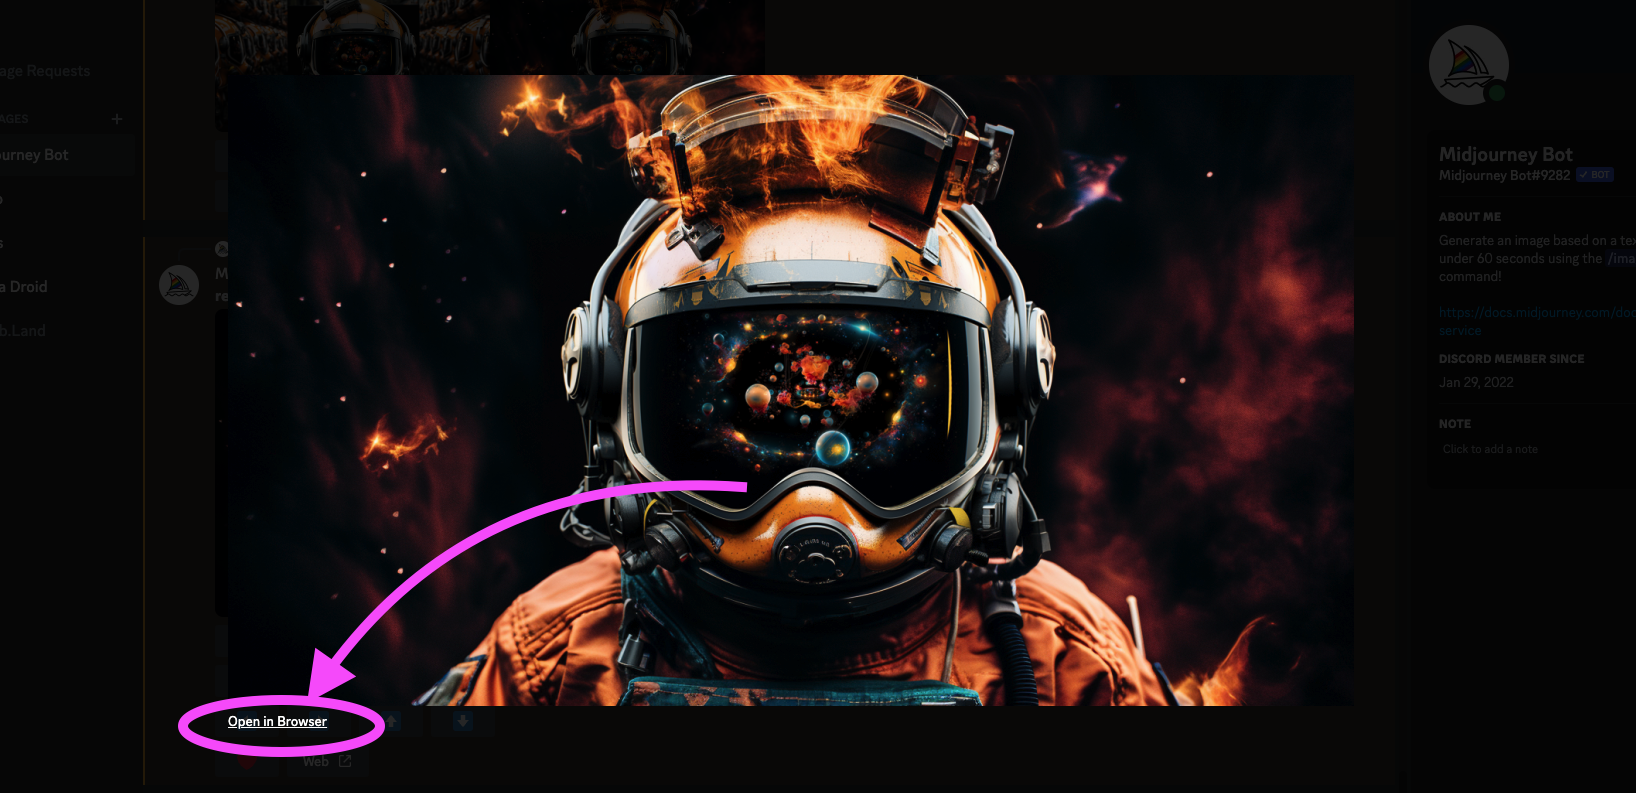
The first step is to export all the images you have created by clicking the upscaled image, then "Open in Browser", then right-clicking and selecting "Save Image As...".
You will then be saving the highest quality image to your computer.
This however will still not be the right quality for what we need. We will be needing the images to be 2x as big.
Upscaling and Enhancing The Images
For this purpose, I am going to be using Topaz Photo AI to not only upscale the images but also enhance them so that when they are zoomed in they still look sharp.
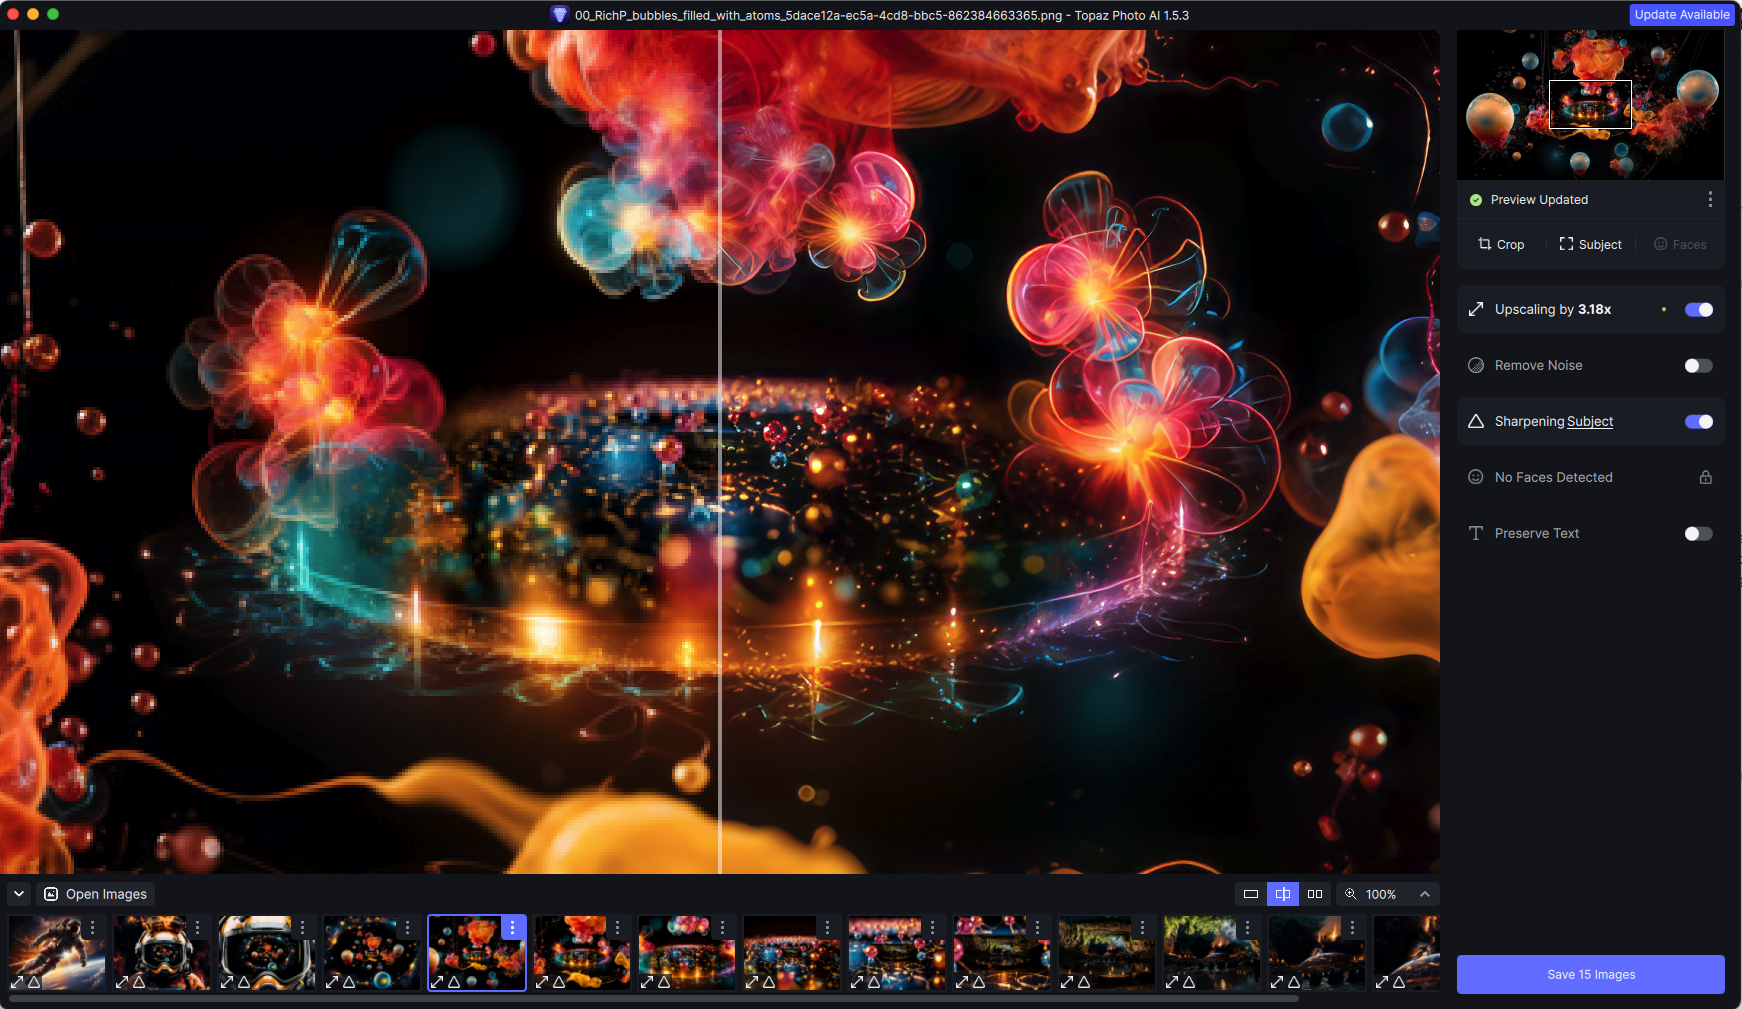
The great thing about Topaz, apart from its amazing quality, is the bulk editor. I was able to edit all the images at once. Awesome.
Now my images are all upscaled I just need to add them to my Video Editor's timeline.
To keep this simple I am going to be using Final Cut Pro as it is really simple to use.
Adding the Images to the Timeline
I add the images to my Final Cut project and put them in order in the timeline making sure that they all last the same amount of time (Screenflow does this by default).
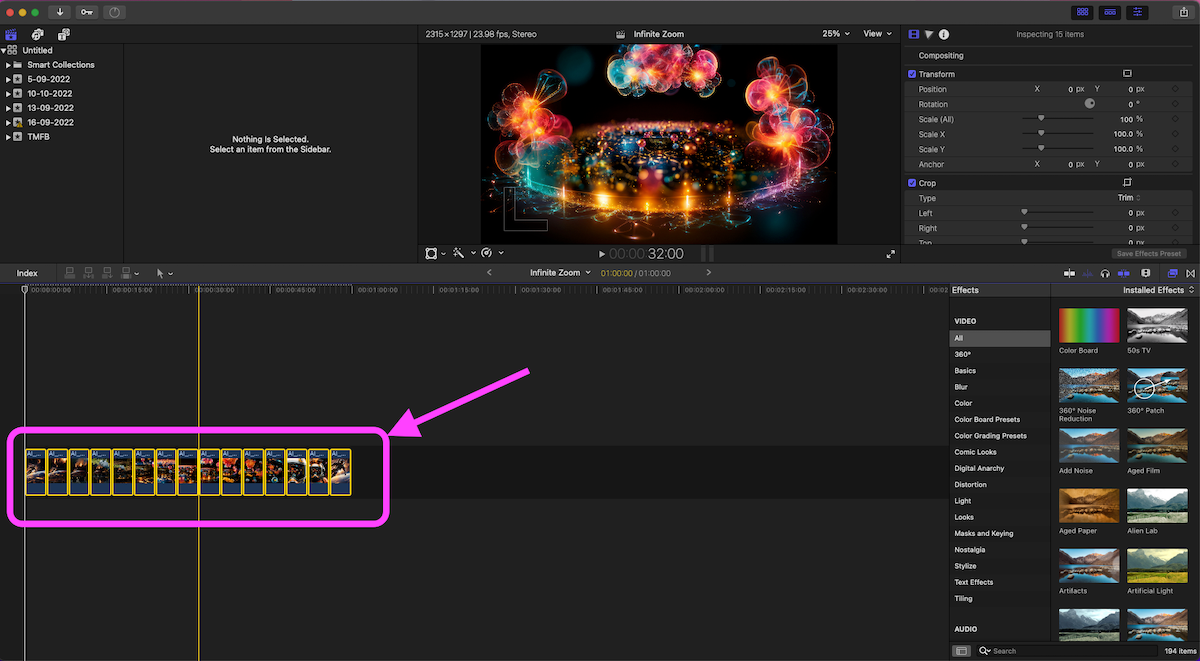
Creating the Inifinte Zoom
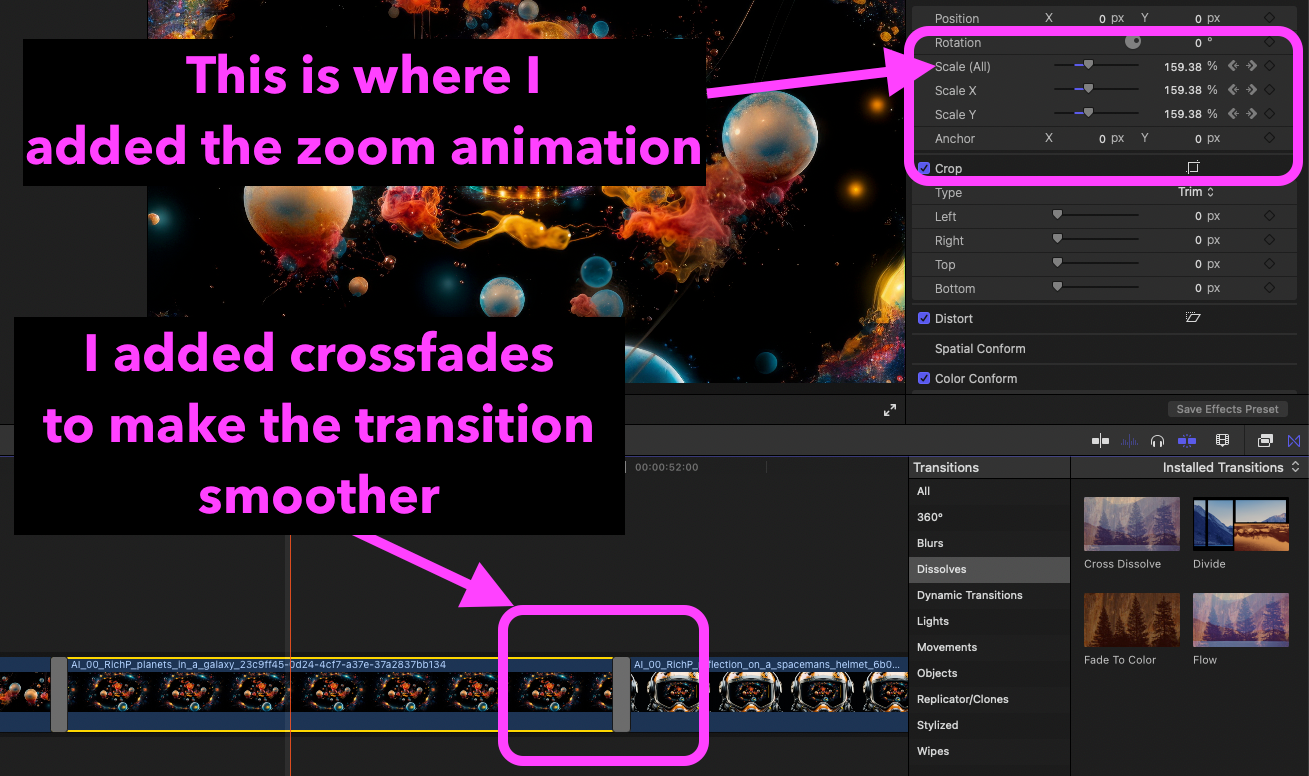
To start this all we need to do is make sure that every image starts zoomed in at 200% and ends at 100% at which point the next image takes over the zoom-out process.
The reason you do this is because in Midjourney we only ever zoomed out by 2x.
To do this I added keyframes at the start of each image with a zoom of 200% and at the end of each the zoom was 100%.
The result was a bit jumpy so I added some small crossfades to each image transition and also sped the movie up by 400%
The Infinite Zoom Video
So here we have it. The final infinite zoom video I created.